It’s that tinsel-filled, snow-covered, magical time of year once again. The holidays are upon us and with that comes the display of Christmas lights throughout the city. While this season is full of merriment, you may be faced with the stress of how to hang Christmas lights. Whether it’s your first time putting up Christmas lights, or you’re trying to edge out your neighbour for best lights in the block, here’s a guide on how to put Santa’s elves to shame with your light display.
Plan Your Design
Before you get swept up in holiday cheer, take a moment to step back and evaluate the game plan. For a well-executed Christmas light design, consider the following:
1. What’s Your Focal Point?
To have that classy Christmas look, pick a point of your home you want to accentuate with lights. Perhaps you want your doorway to standout, or you have beautiful pillars adorning either side of your entryway. Choosing a focal point allows you to concentrate your light show to that area, preventing your home from becoming an overwhelming blast of lights.
2. What’s Your Home Construction Like?
Consider your canvas before jumping in with the decorating. For instance, you may want to look at the thickness of your gutters or the flexibility of your shingles to determine how lights will hang from your roofline.
When dressing the exterior of your home in Christmas lights, here are some popular places to consider:
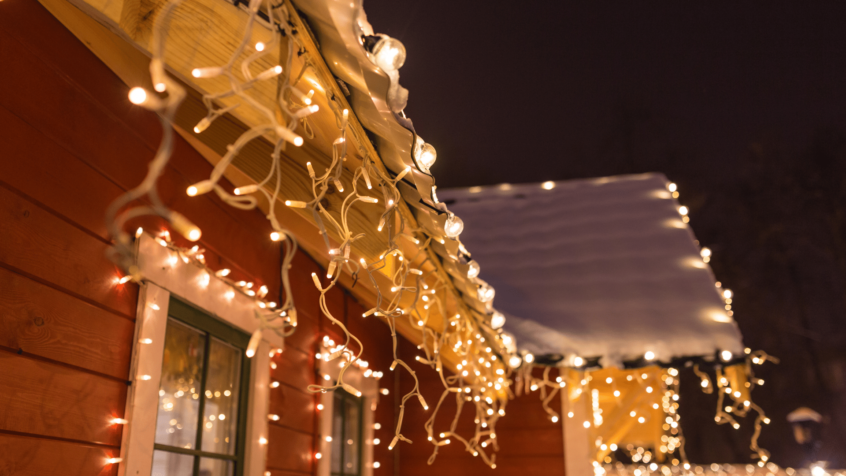
- Along the edge of your roof or eaves
- Over trees, bushes, and hedges
- Around fences, pillars, posts, and mailboxes
- Parallel to driveways and paths
- Around door frames and windows
- Inside planters and flowerpots
3. Measure
Slightly tedious but measuring your structures will help determine how many strands of lights you’ll need. You should also measure the distance between power sources so don’t hang lights that have no way to shine.
Prepare Your Lights
You’ve planned, now it’s time to prep. When you’re at the store sifting through Christmas lights or you’re taking your old ones out of storage, here’s what you need to look for:
- Damaged Lights. Keep an eye out for missing or broken bulbs, frayed wire, and damaged cords. Not only will these interfere with the effect of your light show, but these damages are also a safety hazard.
- Light Colour. Even if you’re opting for white lights, they often have different hues to them. While LED lights feature a bluish tint, incandescent lights can be slightly orange. Light them side-by-side before hanging to ensure you’re not stuck with mismatched Christmas lights.
- Light Clips. Don’t use nails or screws to secure your Christmas lights. Rather, stock up on light clips to secure your lights to your home. Not only does this prevent damage to your lights, but to your roof as well. No need for unnecessary holes along your roofline, clips can be attached to gutters, shingles, or virtually any surface you need.
- Categorize Light Types and Colours. It’s important to have fun with your light installation. However, if you’re looking to create unity and aesthetic, group your lights by area, keeping the types and colours consistent between shrubs, trees, pillars, etc. For example, use white lights on all your shrubs, then dress your trees in colourful lights, with white icicle lights streaming from your gutters.
Hang Your Christmas Lights
It’s time to gather your lights on the lawn and get started with the hanging. If you have access to a helper, the second pair of hands will come in handy.
Step 1: Testing
Start off by testing your lights. Old or new, plug your lights in before hanging them to make sure they all work.
Step 2: Roofline
Attach your lights to your shingles and shutters. This will likely require the use of a ladder so make sure it’s balanced and secure before climbing to the top. Using an all-purpose light clip, attach the lights to your gutters. If attaching to the shingles themselves, you can use the same clips by just flipping them the other way round.
Step 3: Trees
When hanging tree lights, you may find a light-hanging pole handy. This saves you from hopping on a ladder so you can have a perfect installation from the safety of the ground.
Step 4: Railings
If you have railings around your home, you can make them pop with some classy Christmas lights. When using deck clips, the installation is quick, easy, and make a great holiday impact.
Step 5: Set a Timer
These days, you can buy outdoor timers to turn your lights on and off for you. To save yourself the cost of overnight electric bills, this ‘set it and forget it’ system will maximize your energy efficiency.
Step 6: Enjoy the Show
It’s time to take in the beauty of your labor. There’s no better way to embrace the Christmas spirit than marvel at your own light display. Grab a hot chocolate, bundle up in your coziest sweaters, and enjoy the holidays from your front porch.
A great light show starts with a well-constructed roof. For roof maintenance, repairs, or replacements, contact our Burnaby roofing team at Canuck Roofing. We can ensure your roof is not only winter ready but sparkling for the holidays as well!